List Filter
 This article describes how to activate, add, connect, and configure the List Filter web part in SharePoint.
Feature Activation
Before using the List Filter web part, make sure the List Filter feature is enabled for the site collection.
Go to the site where you want to use List Filter.
Click Settings → Site Settings.
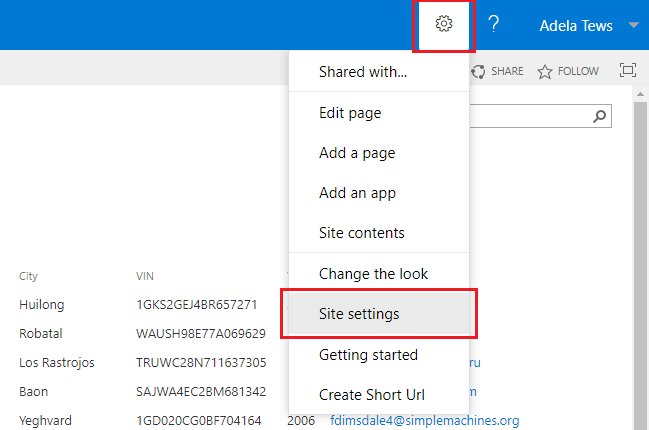
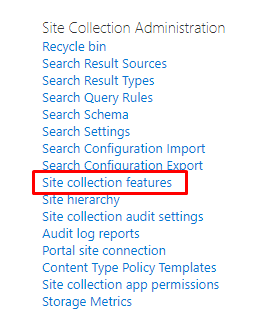
On the Site Settings page, click Site collection features under the Site Collection Administration heading.
📝 Note
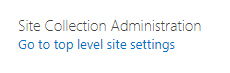
If you're not on the root site of the site collection, click Go to top level site settings.
Scroll down to the Vitextra: List Filter row and click Activate next to the feature.

Once the feature is activated, you'll see an Active badge:

Add List Filter Web Part
Go to the list or document library where you want to add List Filter.
📝 Note
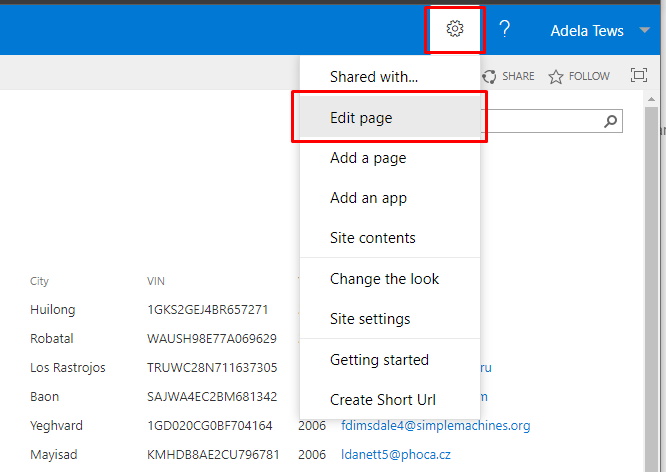
You can add the List Filter web part to any SharePoint page, as well as to a list or document library.
Click the Add a Web Part button where you want to place List Filter:
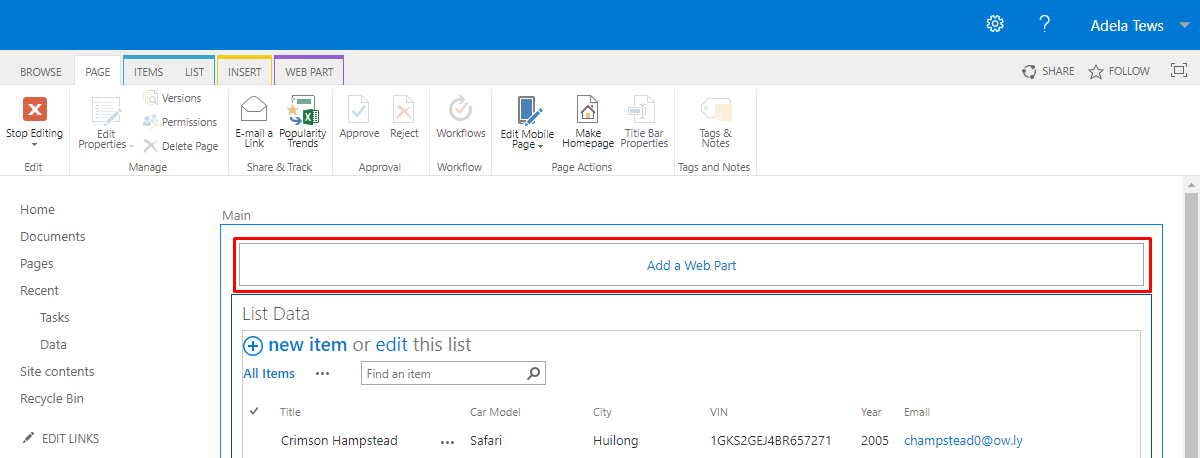
If the Add a Web Part button isn't shown, click the spot on the page where you want List Filter, click the Insert tab on the ribbon, and then click Web Part.
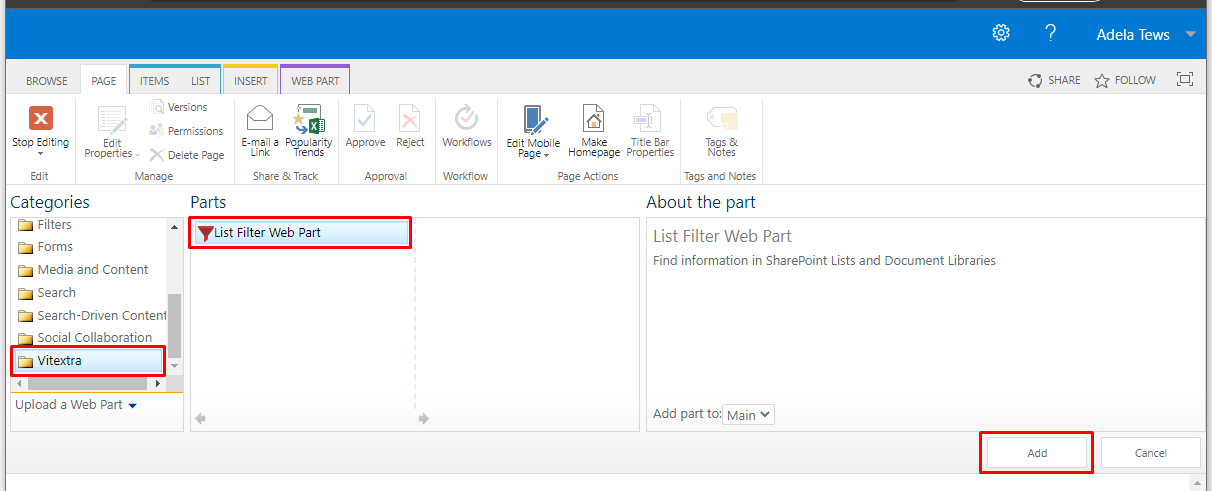
Under Categories, select Vitextra, select List Filter Web Part, and then click Add.
Connect List Filter
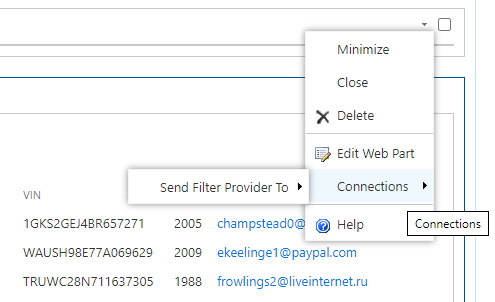
To connect List Filter, point to the List Filter web part, click the down arrow, point to Connections, point to Send Filter Provider To, and then click the name of the List View web part you want to filter.
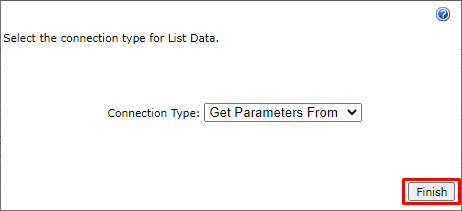
In the Configure Connection dialog box, click Finish:
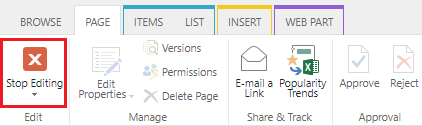
Once the List Filter web part is added and connected to a List View web part, on the Page tab, click Stop Editing:
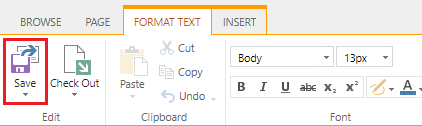
Or, if you're editing a wiki page, click Save on the Format Text tab.
Configure List Filter
Now you can configure List Filter for the list or document library it's connected to.
Choose Fields
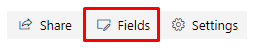
Click Fields in the top-right corner of the List Filter web part to open the fields settings dialog box:
Select fields using the checkboxes, choose a filtering control for each, and update any other properties you need:
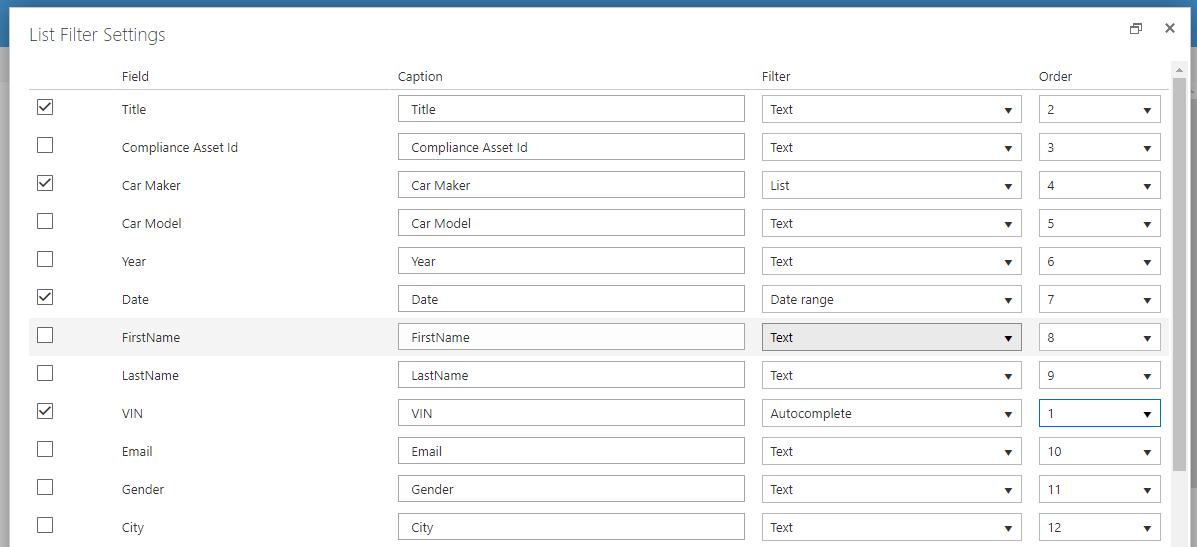
Scroll down and click Save.
💡 Tip
You can add any field to the filter panel, even a field that isn't shown in the list view.
Additional Options
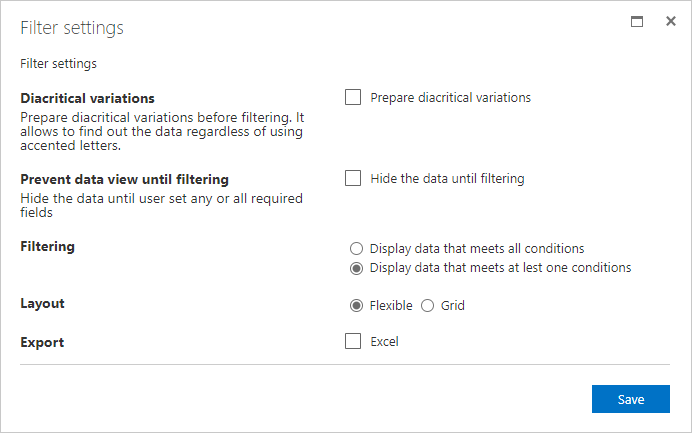
To change additional settings for List Filter, click the Settings button to open the settings dialog box: